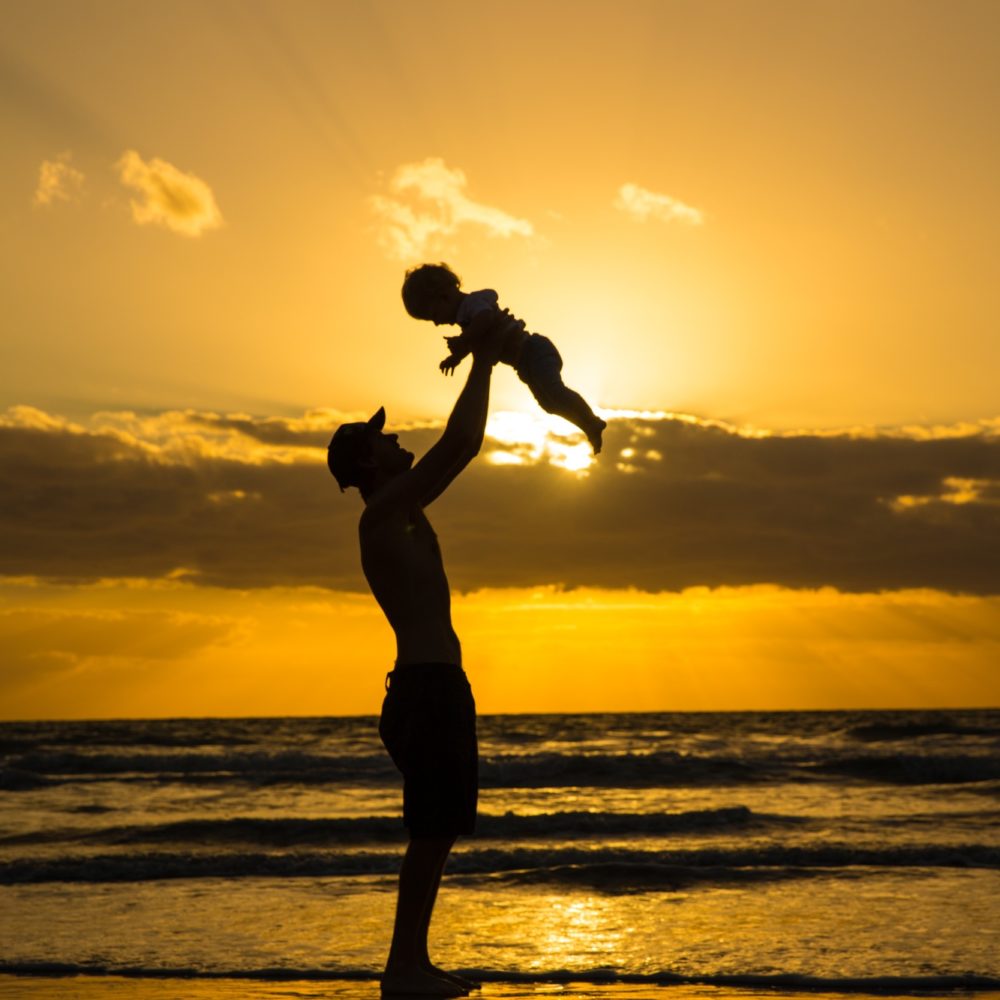

As a travelling family we often work on assignment as social media influencers or brand ambassadors so you can imagine how important it is for us to create high quality imagery. We are often sent to beautiful locations for a short period of time where we are required to produce images and video content featuring our family enjoying the amazing surrounds – yes, it is a pretty great gig, but at times it’s a lot of hard work and pressure to ensure we come through with the goods!!


We snap away like mad while on the go and manage to capture natural, fun images that our clients love, but little do they know, that most of the time those images are taken one handed, with a baby on my hip, or running on the go racing after our 2 adventurous blondies that are way too excited, eager to explore and not willing to stop for mum to take a picture!!!
We are often contacted by fellow travellers and parents asking how we manage to get the shots we do and what camera equipment we use – so I thought I’d share our camera set ups and my photography tips with you.
Our camera bag includes:
- Camera – Canon EOS 6D SLR Camera
- Lens – Canon EF 24-70mm f/2.8L II USM Standard Zoom Lens we have others but who has time to swap and change lenses?! This lens is great for most situations especially low light and we love it!
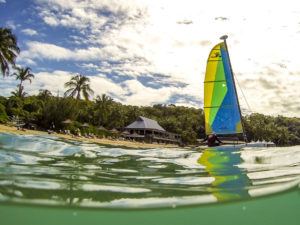
- Underwater – We also use a GoPro Hero 3 for our underwater photography and use a Knekt Dome Port for our over-under shots.
- Video – Our video footage is mostly filmed on our phones – yes, that’s right, our Samsung Galaxy S6 and S7 do an awesome job (as well as the occasional clip captured by the GoPro and the Canon SLR).
- We also travel with loads of memory cards, spare batteries and external hard drives to back up our footage and images.
Photography tips for parents on the go:
1. Get to know your camera
Make sure you know the ins and outs of your camera before you start your travel adventures – you don’t want to be trying to learn something on the go. I’d also recommend investing in a spare battery and fast memory cards of at least 32GB in size.
2. Invest in a UV filter for your camera lens.
These are a thin, circular piece of glass that fit over the front of your cameras lens. It can protect it from scratches, smudges or cracks, which at some stage with kids is bound to happen, so for a small amount of $$$ it is a good little insurance. I also use a polarising filter which can enhance or illuminate reflections which is something I do a lot of on our adventures.

3. Auto or P function is KING
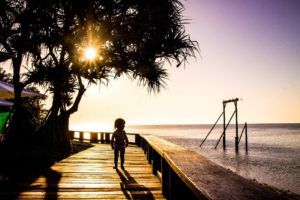
As a professional photographer by trade, there have been many times when I would have loved to sit and watch the sunrise or sunset and take photos on my camera in manual mode to achieve ‘that winning shot’ but, with 2 little ones always at my side (or running away from my side), those days are gone! Don’t be ashamed to just whack your camera on the auto setting and off you go. If you are feeling adventurous read up on your cameras manual and try Program Mode (P) for a little more control over your images. TV Mode (Shutter Priority Mode) and AV Mode (Aperture Priority Mode) are also great once you understand a bit more about your camera.
4. Forget the tripod – improvise!
You have enough to worry about travelling with your little ones with all that you have to lug around with them, so do yourself a favour and leave your tripod at home. Simply improvise if one is needed. Lean against a wall for stability, set up the camera on a table or your pram/backpack, make do with what you can.
5. Use your camera strap!
When photographing our little ones I am usually following them around at the beach or running wild on an adventure! I’m always needed to help carry something, hold a hand or catch someone from falling over so I always make sure I have my camera strap around my neck!! I also like to have a lens cloth with me too as I always manage to get something on the lens.
6. When possible shoot in RAW format
If you have a digital SLR camera I would suggest taking your photos as RAW files (as opposed to JPEG files). When shooting in a format like JPEG the image information is compressed and lost. RAW files capture more information allowing you to produce higher quality images, as well as correct problems like over exposure or dark shadows. You can change your camera to shoot in RAW in your menu settings.
Note: when shooting in RAW format you will need compatible computer software to access and edit your photo files once they have been downloaded. There are some great programs available, you can use FastStone for free, or I use both Lightroom or Photoshop. Don’t be put off trying these out – there are some great online tutorials to help you use this software along with free trials.
7. Use a GoPro
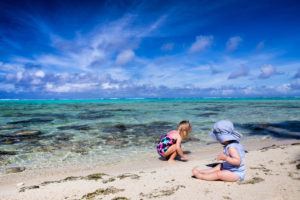
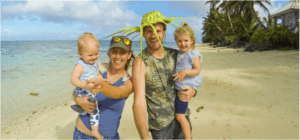
If you haven’t used a GoPro, now is the time to try!! They are the most forgiving camera I have used. The sheer simplicity, light weight, and compact size of the GoPro means that you can take it along with you anywhere! For the most part, it literally is as easy as just pressing a button and pointing the lens in the general direction of whatever is going on. It can take care of the exposure settings for you, you can mount it on anything for action sports or selfies and take it underwater for both photos and video! We took the above family shot during our Cook Islands adventure with our GoPro mounted on a GoPole (selfie stick).

8. If all else fails use your phone camera!
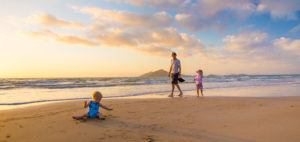
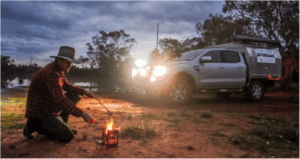
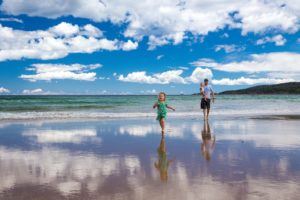
Lugging a heavy camera around all the time can become hard work and cramp your style. With the amazing image technology available on mobile phones today you can capture some stunning images by simply using the in built camera – just like the two shots taken above! Make sure you tap the screen to let the camera know where you want the lens to focus on and don’t be afraid to get creative with camera angles and some phones now come with slow motion or repeat functions which can be a lot of fun.
At the end of the day, the best camera you have is the one that is on you at the time. Enjoy capturing your precious moments and remember to have fun! If you are interested in improving your photography knowledge and skills, I’d recommend Digital Photography School – a website blog and photography resource created by Darren Rowe. I’ve been following Darren’s blog and using it as a reference since I was studying Photography in high school. You can find loads of tutorials and articles to help you as well as online courses and books on Digital Photography Schools Resource page.


Pin this post to Pinterest.
Learn how to take gorgeous photos of your kids:


Such handy simple tips. Great read. Thanks very much
Thanks Leonie, glad you enjoyed it
Now if you could master one handed photography when a dog is pulling on the lead I’d be grateful ?? (great article though!)
haha Emily, Thanks for reading.. how about you stand on the lead while you take a shot??
Thanks for the tips. I definitely learned a few tricks here. I have always wondered how the over-under GoPro shots are done.
Thanks for reading Ted. Glad you gained something from the article. The Gopro Domes are great fun but you do have to look after them along the way as they are pretty fragile.
I think I need a lens cloth too as my camera always seems to be dirty. I need to invest in a good camera and mine is about to die!
The lens cloth is a must, and I find it great to use on my laptop screen and phone too. Thanks for reading Anne, happy travels
Great tips for the travelling family and amazing photos!
These photos are amazing Tracy! The feature image is my favorite! Great shot, how lucky you are to catch this sunset! I love how you said when everything else fails, use the phone camera. I am so happy to hear pro photographers sharing that they use their phone’s camera. Now, I don’t feel guilty when I use mine.
Great read and tips guys ?
These are really awesome tips… of our photos can be a tiny bit more like yours i’d be stoked!
Thanks so much Kelly – glad they were helpful for you.